



Being a crochet enthusiast, I set out to make a stylish crochet hook roll up that will keep my crochet hooks safe and not misplaced. I also thought that it would be nice to have my scissors in the same place, so I am not always looking for them together. This small crochet roll up is small enough to toss in your bag so you can crochet on the go.
Here is how I made it with photos:
You will need:
Two compliment fabrics- one for the exterior and interior
Cut two 12x8 inch pieces from the exerior fabric
Cut one 12x8 inch piece from the interior fabric
cut one 11x7 inch piece of fusible interfacing
18 inches of complimentary ribbon or bias tape for closure
Thread

Before you start it is a good idea to prewash all fabric and press all wrinkles out. In my demo, the floral print is the exterior print and the pink is the interior and the tie-closure.
Take one of the 12x8 pieces of exterior fabric and fold it in half and press it. This will become the pocket for your crochet hooks.

Next, take your fusible interfacing and iron it on to the wrong side of the exterior print. Follow the directions for the fusible interfacing.

After you put the interfacing on, you will take your folded piece of exterior fabric and line the unfinished edges with the bottom unfinished edge of the interior fabric. The folded edge of the exterior fabric will be in the middle of the interior fabric and the unfinished will all line up. You will pin to mark where the crochet hooks will go. For mine, I left a 2 inch space on one side for the scissors to be placed, then I marked 1 inch over for each crochet hook. This allowed room for 10 hooks. If you want to alter the spacing to fit more hooks, you may.

After all the pining was done, I sewed a straight line down from the top of the folded edge of the pocket to the bottom unfinished edge. I would recommend reverse stitching to improve the strength and durablility of your Hook Roll.
 After the spacing was complete, you move on to attaching the interior of the hook roll to the exterior. You will sew an invisible seam for the hook roll.
 Place the right sides of the interior/pocket and exterior fabric together I begin pinning by placing my tie closure. Fold your ribbon or bias tape in half. Then attach the tie closure where the folded pocket begins in the center of the hook roll. Be sure to put your loose ends of tie closure inside the the hook roll, don't dangle it outside where you plan to sew.


Pin all around the outside. Sew a 1/4 inch seam around the outside raw edges of the hook roll. Be sure to leave a inche opening in the seam. This opening will allow you to turn your Hook Roll insdie out, leaving an invisible seam.


To roll the Hook Roll, you will fold the excess fabric on the top down like so. This helps keep the crochet hooks from falling out. And roll the end without the tie closure towards the end with the tie closure. Tie and you are set !
Here is where I left an opening in the seam. I recommend not leaving the opening near the bottom where the hooks are going to placed in a pocket OR near where the tie closure is sewn in. Put the opening on the top of the hook roll.
Next you will turn the insides out. Be sure to turn all the corners outward as well. Once this is done, you will use a slip stitch to finish the hoook roll. If you need help with a slip stitch see this video
The finished product will look like this with the crochet hooks in it.

To roll the Hook Roll, you will fold the excess fabric on the top down like so. This helps keep the crochet hooks from falling out. And roll the end without the tie closure towards the end with the tie closure. Tie and you are set !



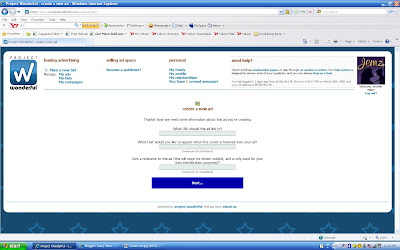

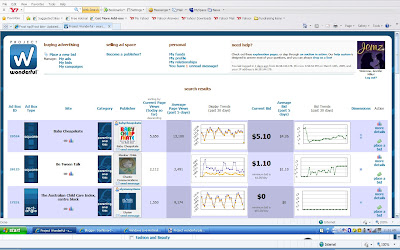


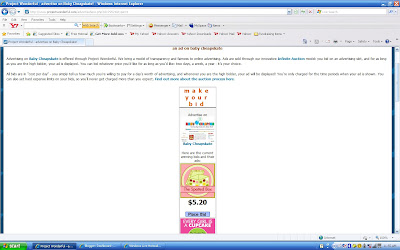
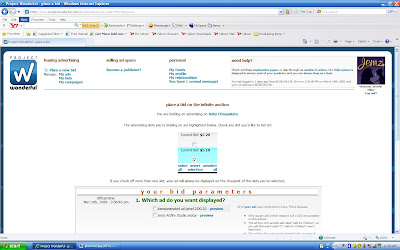
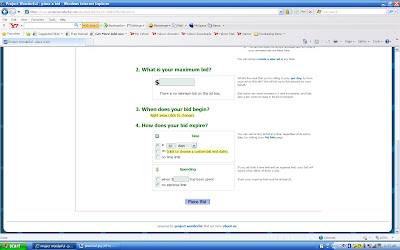 Choose the ad you wish to run. You must place a maximum bid (which you can go back and raise if needed). When you bid, you can put a time frame on how long your bid is active. The default is 30 days. You may also put a cap on how much money you are interested in paying for ad space. This way you don't have a bid for $5.00 a day for 30 days. You can cap your bid for $50.00 and have your ad up for 10 days. However, if you lose out, you can increase your bid for that ad space. If you don't rebid, and someone elses ad expires, your ad may be placed in that spot if it has not expired.
